Tuesday, August 14, 2012

Re-cycled greeting cards into Journal.. Simple!

I saw this technique on youtube somewhere, thought it was cool. I tend to save all the thousands of greeting cards I get and its nice to do something with them. You know when you buy greeting cards at the drugstore they really add up over time, and that makes it hard for me to throw them out! My mother sends me the most cards, any holiday, any reason. So, I think of these cards as my inheritance.

They are made on such sturdy paper and many of the images are lovely.
On youtube you can find the same tutorial I did at http://www.youtube.com/watch?v=iyi3Ve93We4

But, basically I covered all inside writing with paint and collaged the fronts of all the cards. If there was an image I liked, I kept it out! The cover looked complicated but it wasn't and neither was the binding. This is pretty simple. Next time I will make it to preserve all those lovely cards from family and friends that I just want to keep in a book.

Here is some pictures!  This is made with greeting cards, paper scraps, elmers, craft paint, tissue tape (1 dollar at AC Moore) and embroidery floss.

The cover is still boring, haven't gotten up to decorating it yet!

This is one of the pages, I tend to use quotes of some sort since I love so many and find them inspiring.

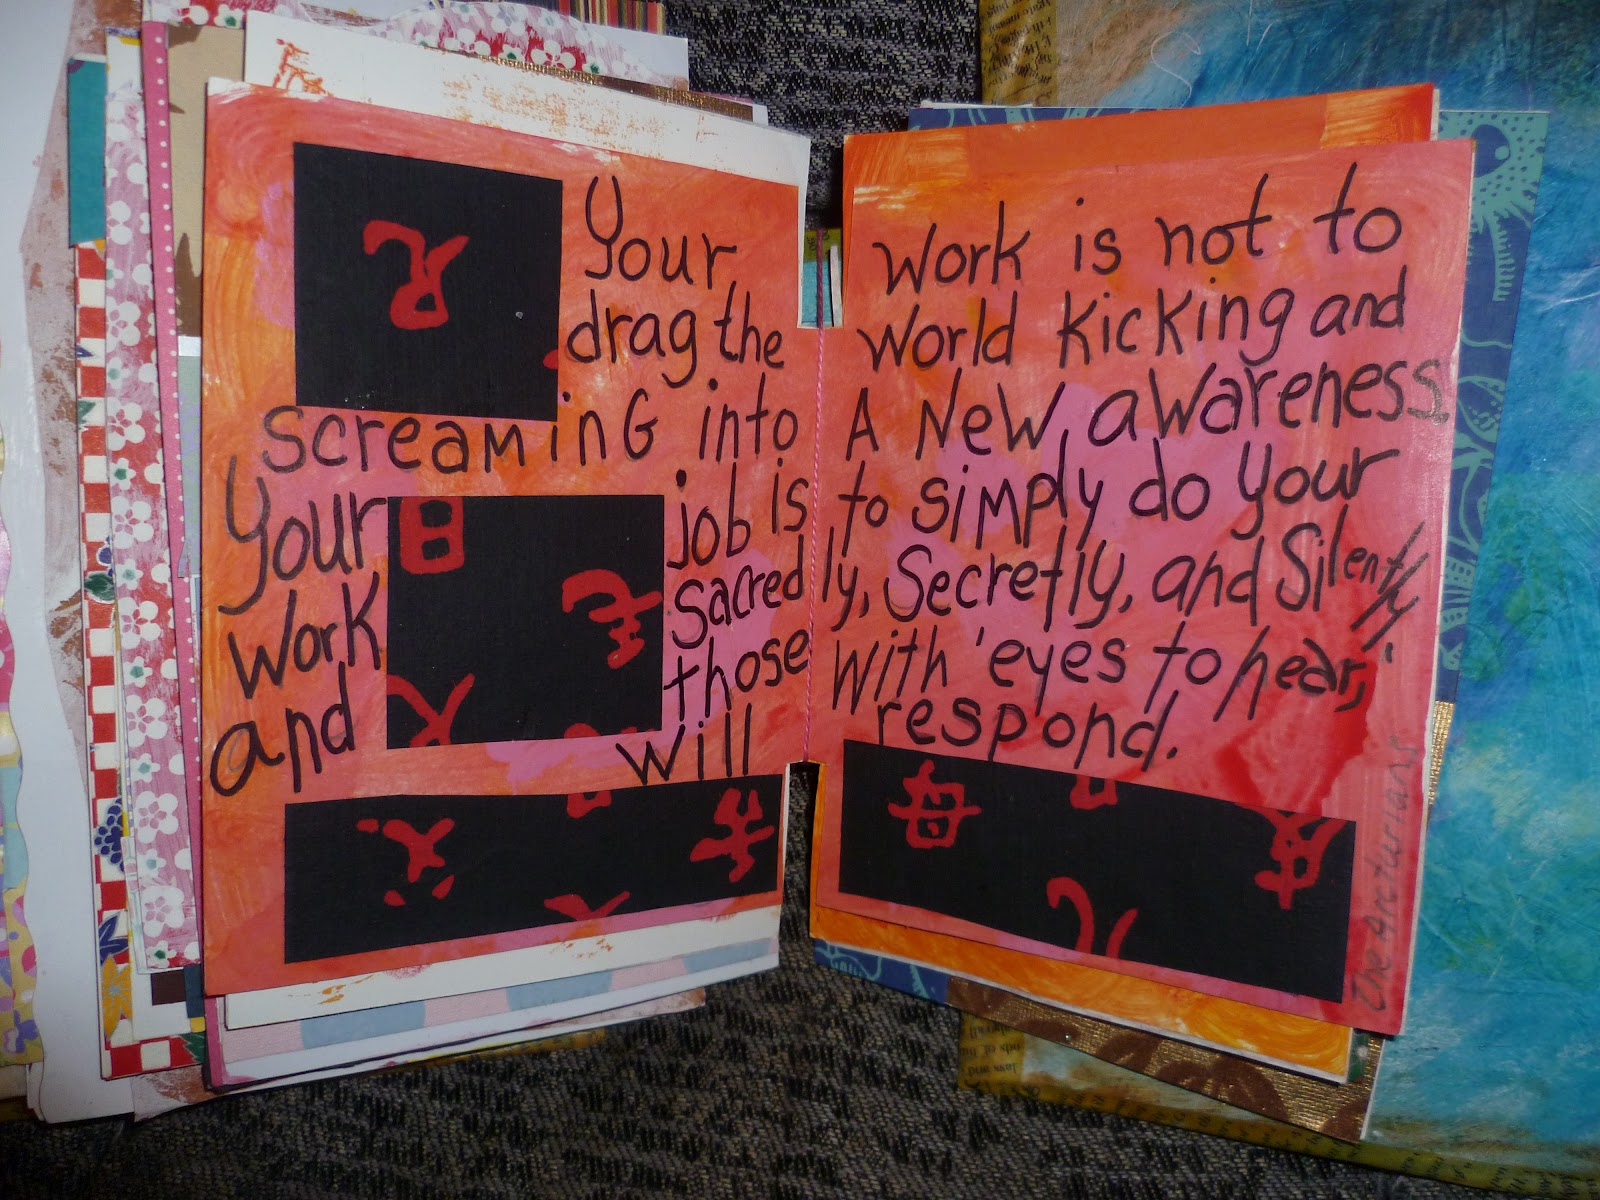
This quote was chosen as I am having a hard time looking at restraining myself from posting about various political views on FB. I need to look at it often.

Yes its childlike and not written well, and thats ok. Art does not have to be perfect, close to perfect or any where near perfect.


Trying to find creativity... Mosaic Vase

I am having a real dry spell it seems lately. I don't seem to feel like doing much but I know I need to, so I determined the way to bring me out of it was to do mossaic. Mosaic is a tension reliever for me nand this vase is my end result. Its a vase my mother gave me years ago, she had purchased it for a few dollars at Woolworths. She used to buy lots of gifts at these stores that are really about giving a gift rather than about buying something a person wants or needs. So she would come over frequently, and always have many gifts in her hands. It was overwhelming with the amount of items she would show up with, and kind of makes you a horder if you hold on to all of them. The problem of getting rid of them all is that its a gift from your mother! This vase I kept though because it had a great shape but I didn't care much for the pheasant on it.

The tiles are irregular van goghs I purchased online from Happycraftn's Mosaic Supplies. I used elmers glue to adhere them and  "Premixed Ceramic Tile Adhesive and Grout" from Home Depot to grout it. The tiles are very cool because they are very light weight, I also did the same on top of a small stool and the only added weight was from the grout.

I also added a few glass pieces (dollar store) and half marbles (happy crftns).. although I should have added many more.  I also didn't really photograph the best angle!

So.. this mossaic is not very creative but it helped get me out of my funk a tiny bit.


Mini home-made clip it

This is my home-made clip it. I saw this somewhere on the net and its quite handy. These things are pricey to buy, although I did see one at Michaels for about 28 bucks, mine is more charming and cost me a buck since all I had to buy was the lampshade.

I made mine with an old candlestick, a tiny lampshade, a cork and some paper clips.  My bling, charms etc go in tiny bags that I clip on with large paper clips... the smaller ones do not work well. I like this because it sits on my desk with many things that I am always looking for. I still have tons of supplies all around me in boxes and such, this is just to have some things handy so I don't have to dig.
I picked up two old wooden lamps on the street with  beautiful shades, may make a floor or table clip with one of them. It would be much larger and would be able to hold large papers and things like that. I could be so organized! And if I actually had a practice space that I could keep things in all the time, it would be perfect there as well. I would gut the lamp, replace it with a wooden dowel. You want the lampshade to be able to turn and not tip off. There are lots of tutorials on the net how to do this, go witht the simplest!
My problem is destroying a perfectly good lampshade and finding a place to put my finsihed clip it when its done. I have no space, but... maybe if I had a huge clip it I could have more space... hmmm.
 .

Add caption


Monday, February 27, 2012

Potion bottles aka Altered bottles...

I finished these altered bottles the other day. The last batch were mostly done with polymer clay and these were done with papers, fabrics, beads etc.
The tiny face on the foremost bottle is a milagro

Same bottles, different angle. The leaf is a bead!


 The large bottle was done using a texture paste and was started a very long time ago. I saw an artist  do something identical to this over on youtube, but mine is painted differently. I painted her with a vareity of inks.
I gave the small bottle small loops so they can be worn around the neck, or carried by a tiny person.

Prayer Flags

Working on a collection of prayer flags. I made tons of these a few years back with my clients.. very nice. You put your positive thoughts and feelings into these flags and hang them outside.. allowing the wind to take those good thoughts out into the universe to manifest. Its like gardening.

This first one is made from ribbons. I don't know why it would suddenly not hang straight! This particular flag idea came from something I saw on pinterest.


This second flag is made from muslin. The strips are also muslin ribbons that I made.


Tuesday, February 21, 2012

Button stack paper flowers


This is something I saw on pinterest, and the only way i am going to deal with my pinterest obsession is to make every thing I like on there which will surely drive me crazy.

So I saw these cute button flowers... Basically its a paper flower sandwiched by a few colorful buttons, and sewed through, tied off on top.  I started that way and found putting the string through the buttons quite tedious, so I began to cheat. I strung the string through one or two buttons, and glued them on the flower.
I like having another button below because it gives the flower height.
The only thing (I think) I did differently than what I saw was   I gave the pedals a little pinch and then doused them all with a mixture of "Deco art multi purpose sealer" and "gold "Pearl Ex" pigments so they would look less bumpkin... although they still do.. have to do something else to them...hmmm

Tin / metal soda can flowers

Pinterest is driving me insane. I keep finding these wonderful little ideas and they torture me, because I got to retrieve one idea to do it.. and I find 5 more calling out to me just as loud. So, today I decided I would do a few of several ideas.. but for some freaking reason I decided to make these flowers from tin cans, and had to do them first.

Let me say .. these guys look so much better in person, esp that one on the right, and I suspect they will make marvelous fridge magnets because of their fullness.


 I made one from a beer can, and another from a mini diet coke, that is what this can is in the picture.. they are pretty small.
We rarely have cans since we don't really drink soda or beer... but I had the beer can sitting in my house for the past two months ever since I made these awful cheddar cheese soup. The soup was so yucky.. I figure I have to do something with the can.. so here it is.


Using my tin snips (if thats what they are, scissors cut this stuff pretty well too...) I basically cut thriough the pop top opening, and cut off the top. I cut it down the side, and then cut off the bottom. So then you can lay the can flat like the picture. from there you will need a few circles of different sizes. I just freely cut them out... I am not a perfectionist by any stretch of the imagination.

It should look like this one..   


 I punch a tiny hole in the center of each one with my cropodile (you could also use a hammer and nail to punch through). For the larger circle I made a slit in it so I could reach the middle with my cropadile.

Then I cut slits around each circle,some I did more some less, the smallest circle I did about 3.
The slits you make are the beggingings of your pedal, so then you just need to round the tips like how this is started.


I then curled each one a little bit on the sides, and dented it slightly in the middle. They should look a bit like flowers when that is done.


I put a tiny brad (paper clasp) through the smallest and fed the next larger onto that one and so on. Close the brad.,.. and there ya go!


You could spray paint these guys but I love the way you see the advertising. I may make some with my lovely irish oatmeal can next.