This website has a lot of interesting things, from photos of lost gloves to how to make a beautiful butterfly out of recycled paper... check it out :)
http://www.atomicshrimp.com/st/content/wild_food/
Saturday, December 31, 2011
Friday, December 23, 2011
ATC for 6 degrees
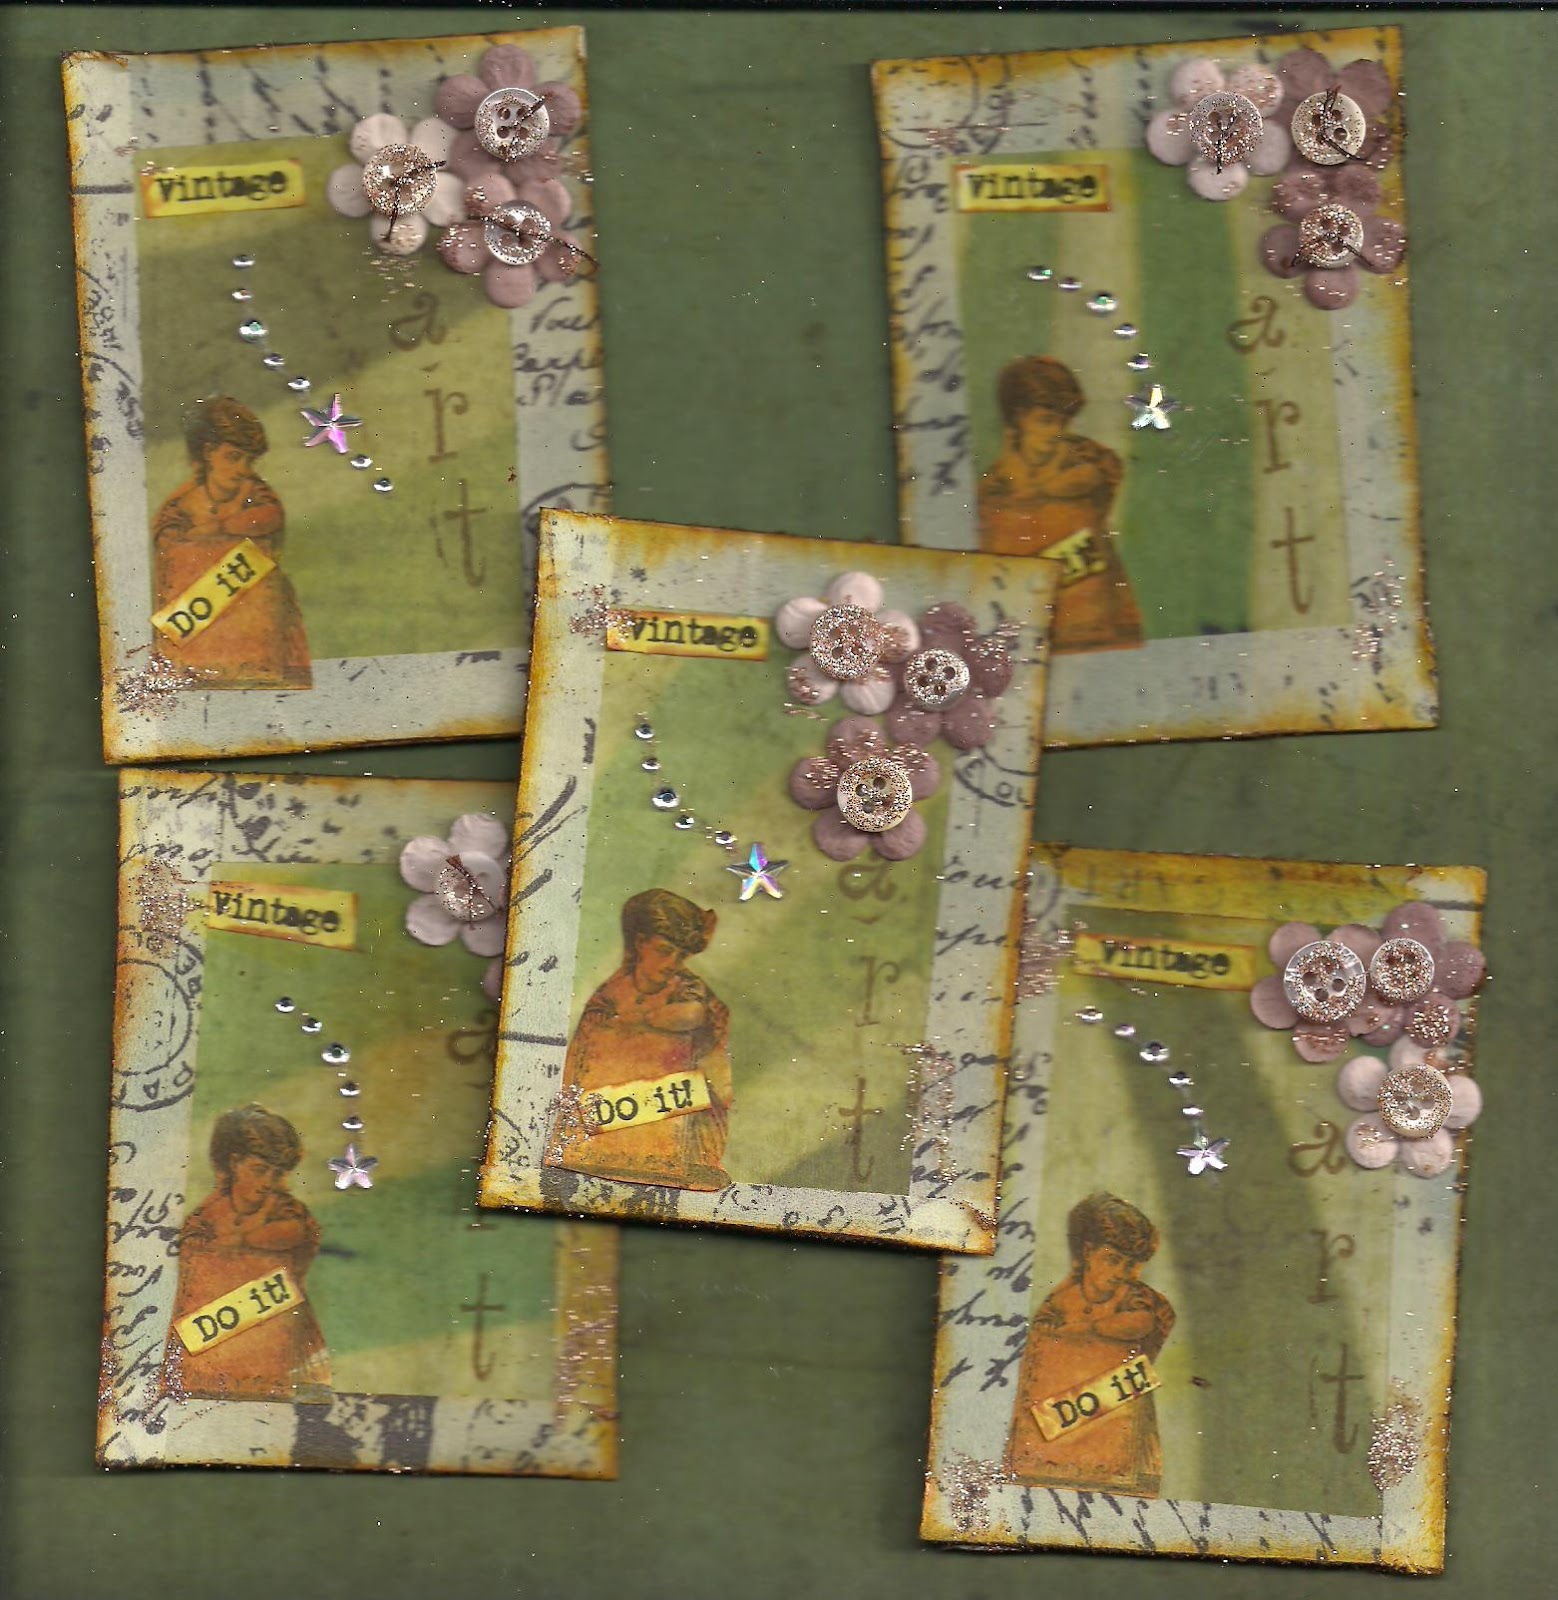
Over at 6 degrees of Creativity, Gretchen is getting ready for a swap this February. She asked us to create cards that express Creative Goodness.
My cards are all about my love for things that are aged. I used Holtzs tissue tape to do the edges and the back, some distress ink for the stamping and edges and actually used Holtzs paper which has been sitting in my office untouched for a very long time (till now). Those flowers are really more of a brown... not sure why they look so pink.. must be the glitter. The cards look better in person ifyou ask me. I have to scan things..cameras are all down :(
Sunday, December 11, 2011
Itty bitty Christmas altered matchbooks...
 I made these for a swap I joined. I don't think I ever did a matchbook before.. interesting indeed. I used a leather book cover for the cover.
Sunday, December 4, 2011


Thursday, December 1, 2011
Bombs are ready!

This is just a few of them, the rest are still naked. They are scented with a "brown sugar" scent, smells lucious! This was my first time making these suckers, very simple but easy to mess up. Just 2 ingrediants really, citric acid and baking soda, but you will need witch hazel and a scent on hand as well. I picked up my citric acid dirt cheap online from "Bulk Apocathary" in Ohio, it was 4 bucks., gotmy scent there as well.
if you want to try them do a small amount first. Take 1/3 cup of citric acid to 2/3 cup of baking soda, mix it very well or it will be grainy. Add a few drops of scent (enough to please your nose). Spray (and I do mean spray) some witch hazel into the mix. Don't wet it! Just a little and keep mixing it with your other hand. If it will clump together at all you are done!. My first batch I went to far and the darn things kept growing like pizza dough.. although I suspect I can still save some of those dough balls. Then you want to pack it into a plastic mold. I used old easter egges, you can use those plastic ornaments or whatever else. I found I could roll some of mine up like a meatball. Let it sit in the mold for a short while then pop it out and let them continue to harden. I waited a tad too long.. was not fun to get out!.. I made these also as part of a swap..... hope somebody likes em!

Wine Cork Key Chains.. Perfect gift for the boater and / or drinker!

I made these for a swap I am doing.. actually only one is for the swap, just no point in making one! These are really easy to make. You just need some old wine corks (mine seem to gather on my window sillglue, ) some key rings, hook eyes from the hardware, beads charms and some jewlery findings like jump rings and eye rings.And I prefer two pairs of pliers, one to hold it and one to twist, cause the fingers don't work as well as the pliers do. You can find a tutorial for these right here.
http://www.simplecrafter.com/tutorial-wine-cork-keychain/
Perfect gift for the boater or drinker!

Tuesday, November 8, 2011
Cec's... free training
http://www.mentalhealthce.com/
I love taking classes and relly don't need any cec's at the moment, so this site is great. You can watch all the videos for free and if you want the cec you submit the post test with the fee and wha'lal!
I love taking classes and relly don't need any cec's at the moment, so this site is great. You can watch all the videos for free and if you want the cec you submit the post test with the fee and wha'lal!
Sunday, October 30, 2011
Happy Artist life and Beeswax collage
 Over at 6 degrees of Creativity there are a few workshops in progress, one beingoffered by Lani Gerrity on having a Happy Artist Life. I chose to do beeswax collage since I love the smell of the beeswax, love how you can change your mind easily (not like with glue where you get stuck with where you placed an image.) Since there was also a workshop on Beeswax collage I thought I would combine the two.
Unfortunatly with this type of collage I find it very hard to take a good picture, the beeswax seems to reflect any light in the room. The artwork itself is much more radiant than the photos. :)
Saturday, October 29, 2011
Mr. Sock Monkey showing off his muscles.
 This is my first project from a new group I joined 6 degrees of creativity. I picked up a pair of socks at the dollar store and the stuffing, buttons and embroidery thread I already had on hand. It took me about 45 minutes to put together, but I do tend to work a tad sloppy. I think he is cute! I made a friend for him right after that.. its a cat... I like the stiches showing more so ... the cat looks more handmade. These socks were also from the dollar store.. these are not domesticated but wild socks (two socks that do not match one strioed, one poka dot)...which is really the way socks should all be. That way when one escapes through that secret porthole in the dryer you don't have to fret so much, cause it never had a mate to begin with.
Thursday, June 16, 2011
Barbe Saint John - New Treasures from Forgotten Artifacts: The Queen and her Industrial Chic Crown
Barbe Saint John - New Treasures from Forgotten Artifacts: The Queen and her Industrial Chic Crown: "photo courtesy Susan Lenart Kazmer Now that my Industrial Chic sample has arrived at the ICE Resin® headquarters, I can share what I made ..."
I love a good crown.. this is a really cool one! But you have to go to Barbs page to see it!
I love a good crown.. this is a really cool one! But you have to go to Barbs page to see it!
Monday, May 9, 2011

Thursday, April 21, 2011
Other postcards for the swap.... where did they go?


Some of my postcards for the Art Therapy w/o Borders swap


A bunch of marbled papers outlines with a gold krylon... and a bunch of maps from my travels in Imagi.

Monday, April 18, 2011
Barbe Saint John - New Treasures from Forgotten Artifacts: All about Industrial Chic and a giveaway!!!!
Barbe Saint John - New Treasures from Forgotten Artifacts: All about Industrial Chic and a giveaway!!!!: "I recently recieved an email from Jewelry Affaire and was told I had a piece in the Spring edition. Woo hoo-thats the kind of ema..."
Friday, April 8, 2011
Doll can tweet?

For at least ten years birds show up in my artwork and lately in my doll making too. I was playing around with this old doll I was unhappy with, and without even thinking about it I turned it into a colorful birdlike doll.
Monday, April 4, 2011
Made me some charms from an old credit card :)

I was feeling a wee bit inspired today... for the first time in ages! I made these charms from an old credit card.. also made a pendant I am still working on. I cut it up, painted it with silver enamel paint. I made an enlarged photocopy of a wedding announcement in the newspaper (from like 1902) of my grandparents. I tore that up, glued it on. I drilled holes and shoved the grommets through, not easy but I can not find my cropadile.. I drilled holes for the heart tacks, cover the backs with more announcements. Used a sharpie around the edges to darken and used glossy accents all over for a lovely shine. I am thinking of adding a little charm, but I like its simpleness as is.
I am thinking about making more of the same, only adding my ancestors sweet faces to them and using the heart tack like you see on the back. Would be sweet right?
I think they are cute :)
Sunday, April 3, 2011
Thursday, March 31, 2011
Some altered domino pendants
I had to scan these since we have camera issues. I know they seem a bit boring, I can't seem to come up with any ideas of my own these days. The pictures do not really show the right colors, its way off, they all have a rich color, either a deep gold, orange redish brown.
I found this technique on youtube done by a talented artist named Rachel. I changed a little of what she did, but not much especially on the steampunk domino. I used Tim Holtz tissue for the background, alcohol inks for the color, a Krylon gold paint pen for the sides and its all glued together and shiny using Glossy Accents.
The Dominos are Bakelite, they were and ebay win. (I held my breath the whole time I drilled) They still need more work.

Friday, March 25, 2011
Thursday, March 24, 2011


Monday, March 21, 2011


Thursday, March 17, 2011
CEU's online.... free :)
There are few things better then free online classes. The 'NCTSN Learning Center for Child and Adolescent Trauma' offers free CEU's and or professional development courses. There are enough to keep you busy a long, long time.
http://learn.nctsn.org
http://learn.nctsn.org
Friday, March 11, 2011
Easter is coming... again...

I was never that good at it but that didn't stop me.The results are typically spectacular since everything looks good shiny. So I pulled these 3 eggs out of my egg bowl for the picture today... (I am honoring my commitment to stop ignoring old art I made) ... The tools are interesting, and I forget what they are called. You have this little pipe thing you put the wax in, you melt it over a candle and draw. Its difficult, but interesting. You get better with practice. The dyes are different then typically used at Easter, they are very intense colors, and they are toxic. You blow out the eggs after you dye them with one tiny hole, and throw the insides away. Its a great process, especially if you have patience.
Dear Hubbies Flute rack and an assortment of flutes

Funky grandma.... a new old doll

I will add a pic of her head sometimes, you can't see her hair here but she has a bun and it looks cool.
BTW... she is sitting in the giant spice rack my husband made me.
Tuesday, February 22, 2011
Vision word deck 2011

Little book needs help!!

Stained glass lilly

I wear old gloves that have the finger tips cut off and I wear masking tape on each finger. But for some reason when I clean up I tend to rip off the gloves and tape then swoosh the fine particles of glass off the table and into my hand... which is not a good idea. Oddly, sharp glass cuts are not that painful.
Cutting glass is very satisfying. I wish I could have done this type of work with my psych clients because I know they would enjoy it. The end results tend to be really nice if I don't try to cheat
Antique Junk Sculpture

My grandfather died around 1980 at the age of 93. In his younger years (along with many other things) he repaired statues, china etc plus he made his own molds. The two dreamy figures are some of the figures he casted and painted. They have an eerie dream like quality to them. The other pieces are old shards of pottery, bone, wood, metal and ivory. One piece that is to the left of the female seems to be like an amber rubber. The base is made of wood, and is from some old statute or probably one of those Chinese vases. This piece is weird but I really love it. It reminds me of the things I loved about my grandfathers home.

Altered book


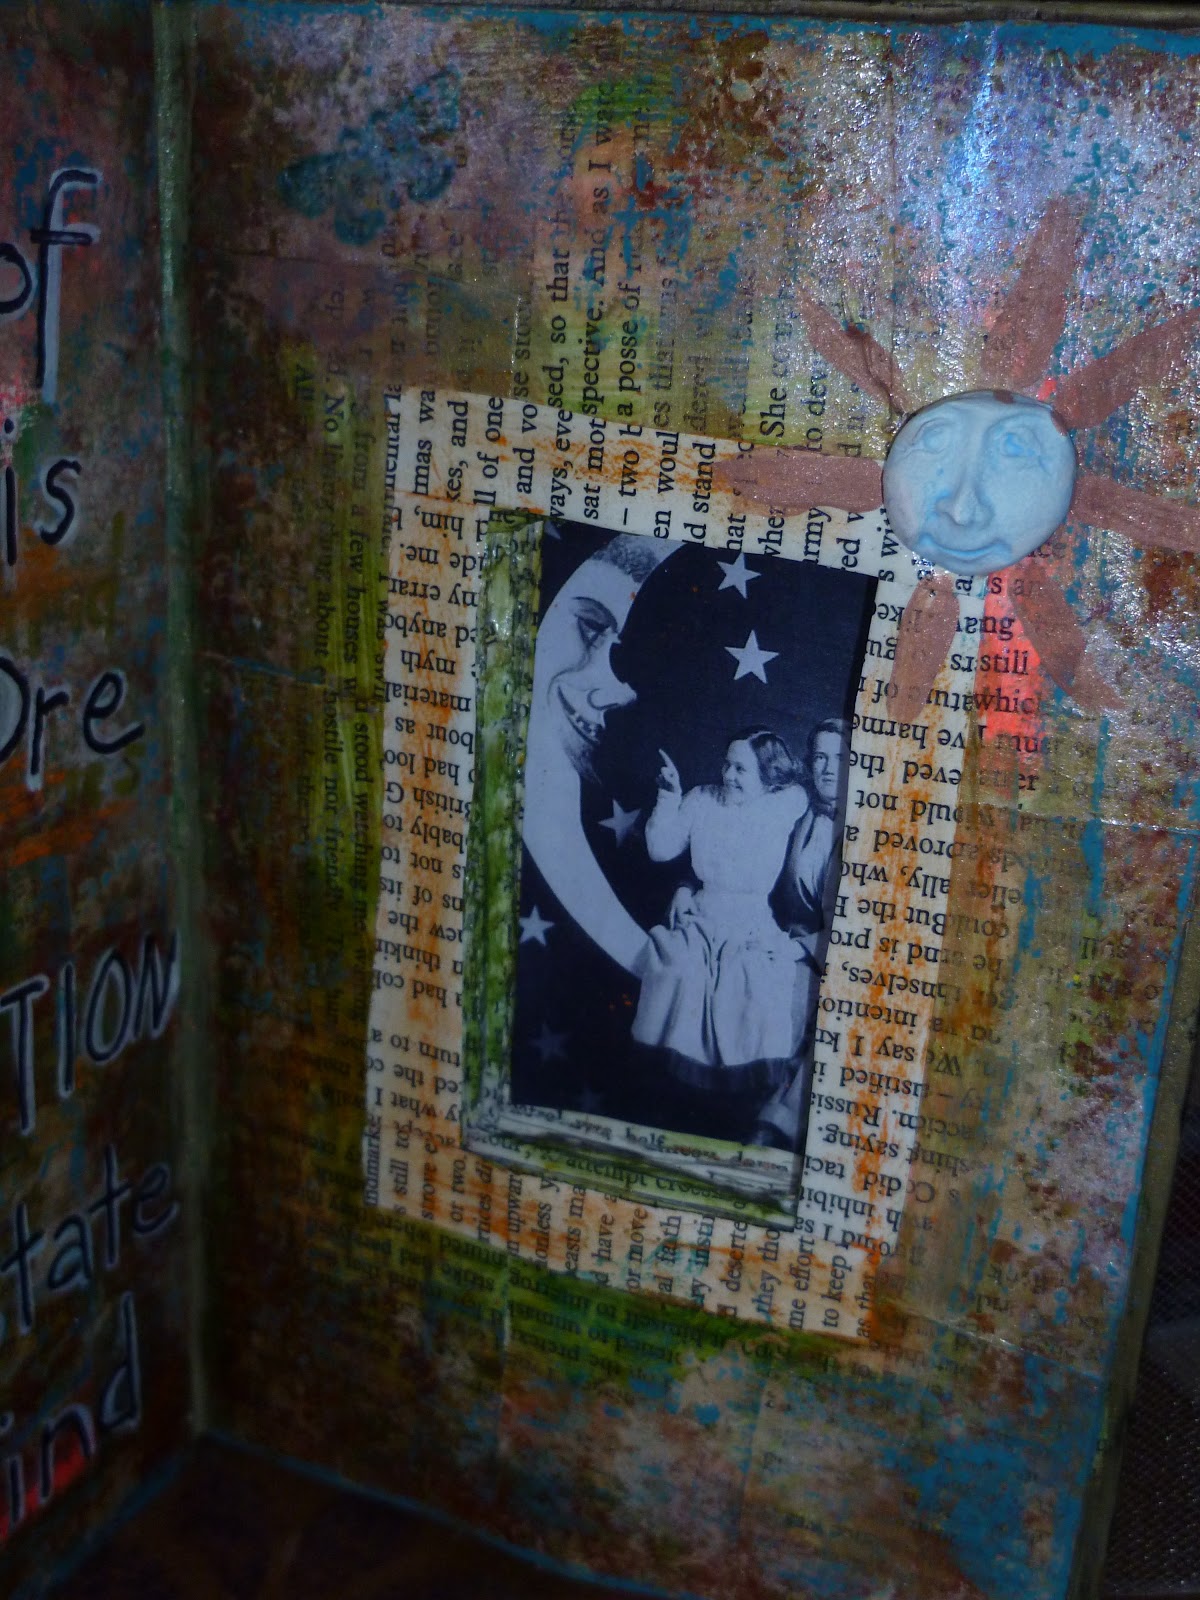
I made this at work a few months back. I was not feeling artistic so I followed some instructions in a book.. and I of course didn't follow them completely. I like it but it is lacking something. Of course I am also having a hard time turning it around... and also a few pics are missing :P
Wednesday, February 16, 2011
CEU's online
I love finding places that offer ceu's online... here is one.
http://apcounsellingservices.com/apcounsellingservices/app/Default.aspx
http://apcounsellingservices.com/apcounsellingservices/app/Default.aspx
Tuesday, February 15, 2011
Monday, February 14, 2011
Monday, February 7, 2011
Cybertorture Mandala
I wanted to make one of those cool earth mandalas where you manipulate a photo... which I did. It took me many hours. Not happy with it (Of course I am not) but I am still posting it here!


Thursday, February 3, 2011
Collage folder

I have made these before with my clients, they are relatively easy to do and make great tag holders since the inside of the folder has pockets.
In the past I did not sew it together, just used glue so this part was new to me. My sewing machine was not enjoying sewing through this paper and the thread kept breaking.... no matter how many times I adjusted the tension. . Now the machine won't work at all... grrr tension!
Monday, January 31, 2011


Artist Trading Card.. magazine painting
The technique is one I often teach my clients. It requires no drawing ability, just some patience and creativity to get great results.


Subscribe to:
Posts (Atom)